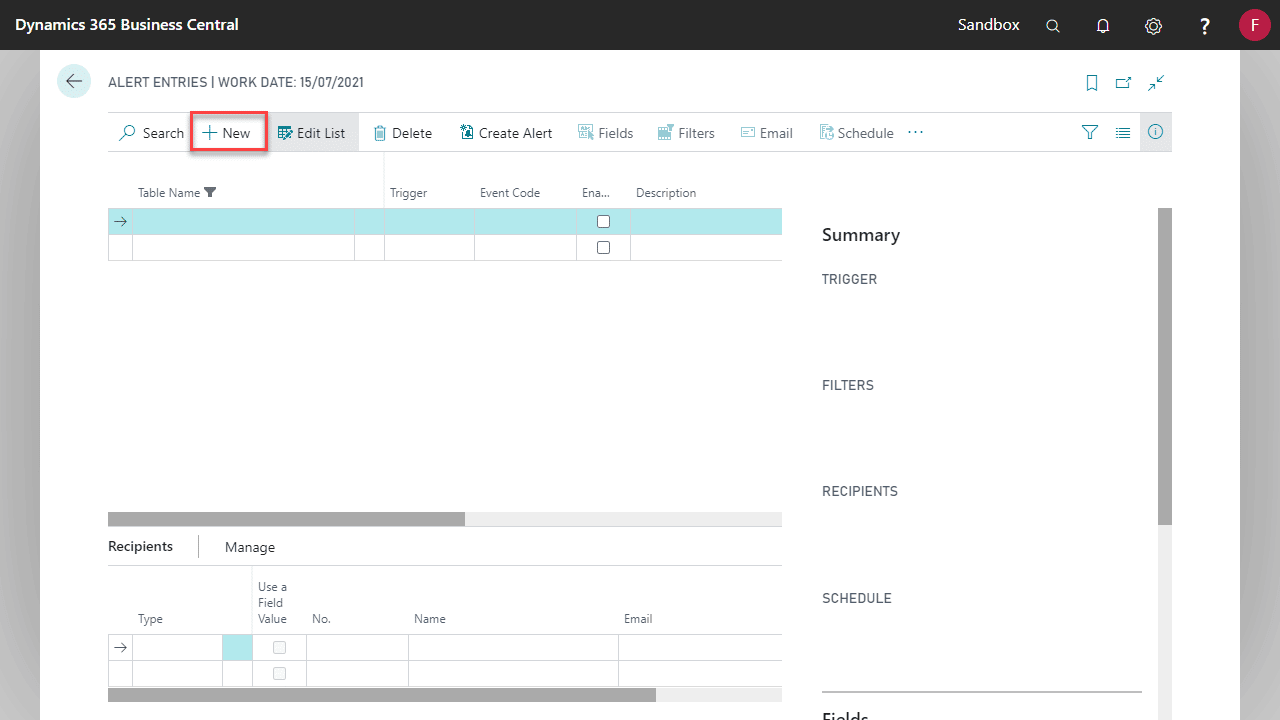
Alerts can be created directly on the Alert Entries page.
Make sure you’ve run through the Initial Alerts setup before creating an Alert manually.
- Locate and open Alert Entries page via search.
- Click New and specify each field required (see below for full table list).
- You may define the filter condition by selecting Filters, selecting a Filter Condition and entering the relevant conditions. See Changing when an Alert triggers.
- You may select an Email Template or specify Alert Email Text by selecting Email. See Alert Email and Setting up the email template used for Alerts.
- If needed, select Recipients by entering recipient details under the Recipients section. See Changing who receives an Alert.
- You may choose to define the distribution schedule. Select Schedule. See Scheduling Alerts.
| Field | Explanation |
|---|---|
| Table | Set the table to monitor for changes. See Set the tables, pages, fields and events used for Alerts. |
| Trigger | The type of change monitored. See What are alert triggers?. |
| Event Code | Specifies the event that will trigger the Alert (only required when Trigger is set to Event) |
| Enabled Alert | Enables monitoring the specified Table for changes |
| Description | Specify a description for this Alert. Optional. |
| Page Name | The Page opened when viewing the affected record from an User Alert or Alert Email. Optional. |
| No. of Fields | The number of Fields that are monitored for this Alert. This is relevant where Trigger is Field Change. Drill down on this hyperlink to edit the fields. See Setting fields to be monitored on an Alert |
| No. of Filters | The number of Filters applied to this Alert. Drill down on this hyperlink to edit the filters. See Changing when an Alert triggers. |
| No. of Recipients | The number of Recipients this Alert will be distributed to. Enter Recipient details in the Recipients section at the bottom of the screen. See Changing who receives an Alert. |
| Has Occurred | Specifies if this Alert has occurred at least once |