Printer selections decide which printer a particular label will go to. This can be set up on a per-template/user combination.
- Locate and open the Label Printer Selections page via the search function on Business Central.
- Click on New to create a new Label Printer Selection record:
- User ID: Specifies the ID of the user who is printing the label
- Template Code: Specifies the code for the template to be printed
- Template Description: Specifies the description of the label to be printed
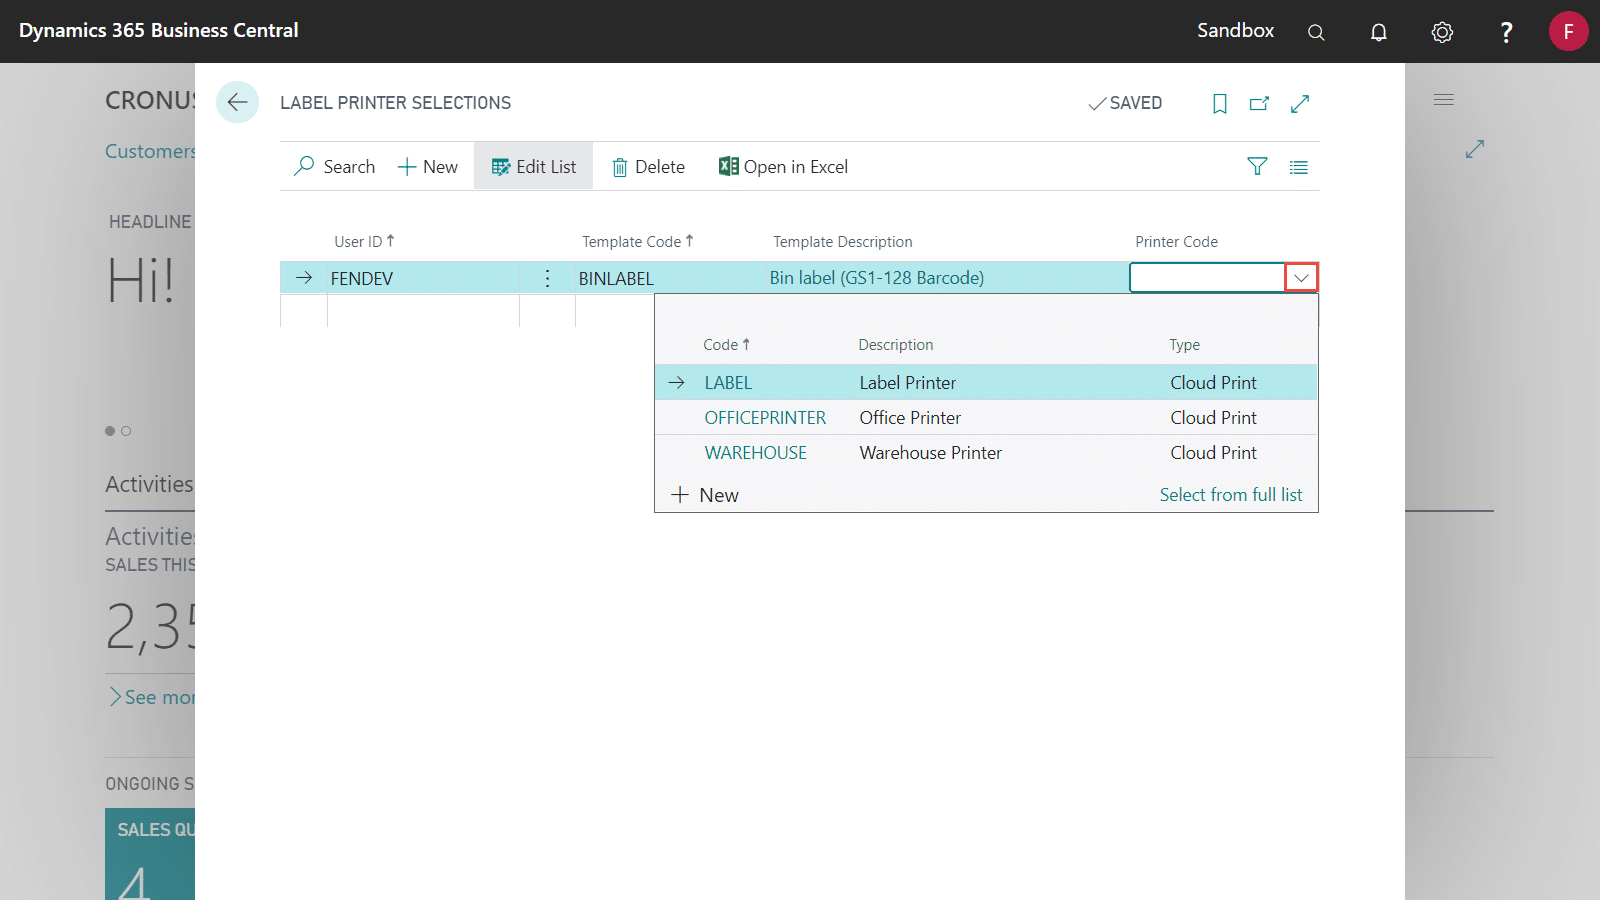
- Printer Code: Specifies a network or cloud printer as to where the label will be printed from
- When entering in the Template Code, click on the drop-down arrow and select the label template we previously created.
- When entering the Printer Code, select the drop-down arrow and choose a Printer from the Print-It app. This is where the label will be printed to.