This article is for experienced users and requires you to have advanced knowledge in working with NiceLabel Cloud Triggers.
See Loftware official documentation to learn more about Cloud Triggers here.
Prerequisites
Before using the Cloud Trigger, you must register the integration in the NiceLabel Developer Portal.
- Register Cloud Integration:
- Go to the Nicelabel Developer Portal, register your Label Cloud account with the Cloud Print API or Cloud Trigger API. This step links your account to the API.
- Follow this guide to create the cloud integration: Cloud Print API.
- Get Your Subscription Key:
- After registration, you’ll receive a Subscription Key. This key authorises you to make API calls and connect with Business Central system.
- Copy and save this key for use in later setup.
Limitations
NiceLabel Cloud Triggers are customisable and therefore it is difficult to cover all scenarios and variables passing from Business Central to the Cloud Trigger API.
Currently, Print-It with NiceLabel app only accepts payload in the following JSON format:
{
  "Quantity": "1",
  "Variables": [
    {
      "ItemNo": "I-12345",
      "Description": "Test Description."
    }
  ]
}| Key | Value |
|---|---|
| Quantity | Specifies the number of labels to print as integer. |
| Variables | Specifies the array that accepts data variables passing to the label template. To add custom variables, follow the instructions in this article on how to integrate your custom labelling scenarios: How to integrate your own labelling scenario with Label-It. |
Sample Trigger
The sample trigger file can be downloaded from here for demo purposes.
To use and run this trigger, you must edit the file using NiceLabel Automation Builder desktop app and update file and printer paths on your local machine.
This trigger accepts the payload as described in the previous step, opens a label template stored on local machine and prints on a local printer.
How do I set the destination printer and label template?
Because Cloud Triggers only run on on-premises machines and print on local label printers, the label template and destination printer must be configured under Actions in the trigger file (.misx).
Use the Open Label action to select the label file stored on the local machine and use the Set Printer action to set the destination printer.
How do I print labels to PDF?
Cloud Trigger does not generate and return a PDF preview via NiceLabel API. This must be configured in the trigger file (.misx).
Use the Redirect Printing to PDF action to print PDF output to a file on the machine that is running the trigger.
Adding subscription key in Business Central
- Search and open “Print-It Setup” page.
- Under the NiceLabel Cloud tab, paste the copied key into Subscription Key field.
- Save your changes.
Creating printer integration in Business Central
- Search and open “Printer Integrations” page.
- Create a new Printer Integration.
- Enter a Code and Description.
- On the Type drop-down field, choose “NiceLabel” and the NiceLabel section will appear on the screen.
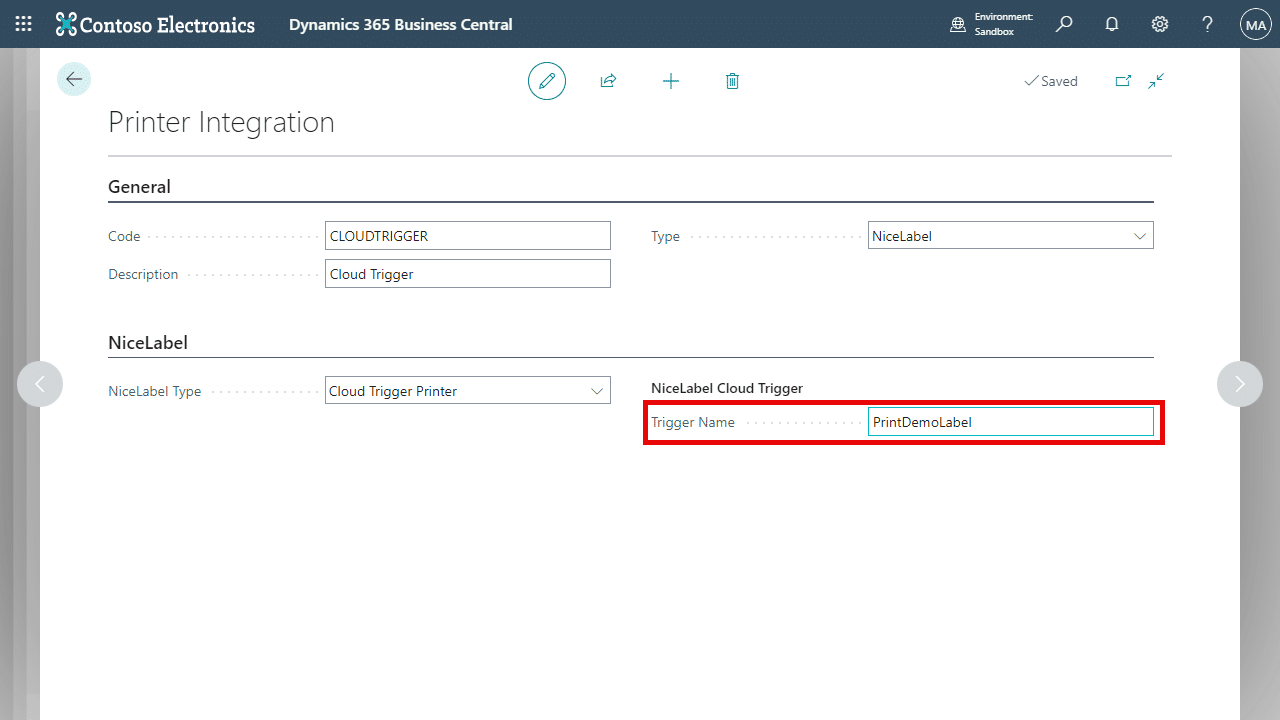
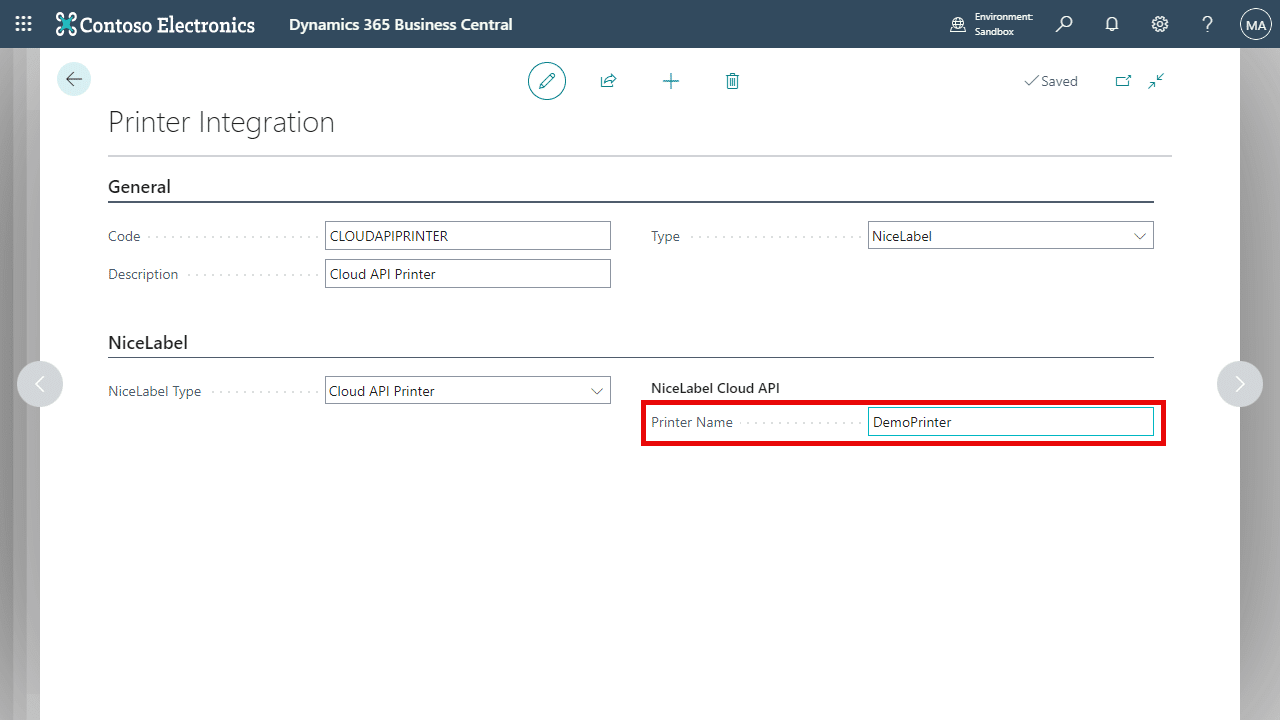
- On the NiceLabel Type dropdown, choose “Cloud Trigger“.
- Paste the copied Name into Printer Name field.
- Save your changes.