In order to use Web Printing directly from Dynamics 365 Business Central, you must create create Loftware Cloud Application and install the Loftware Cloud Web Client on your computer:
- Create a Shared application in Loftware Control Center.
- Follow instructions on this article to create and shared applications in Loftware Control Center.
Loftware Help Center: Creating and Sharing Applications
- Follow instructions on this article to create and shared applications in Loftware Control Center.
- Install Loftware Web Client on your computer.
- Loftware Web Client is a web-based tool that lets you print your shared Applications from a central location to your local printers.
- You only need to install the software when using it for the first time.
Copy application name from Loftware Control Center
- In Loftware Control Center, select Applications.
- Select an Application record that you want to copy.
- Copy and save the Name value for use in later setup.
Linking Loftware application name to Business Central
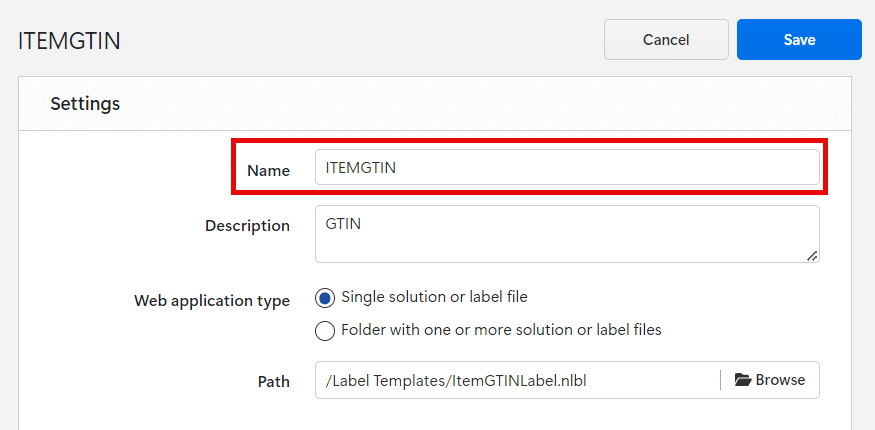
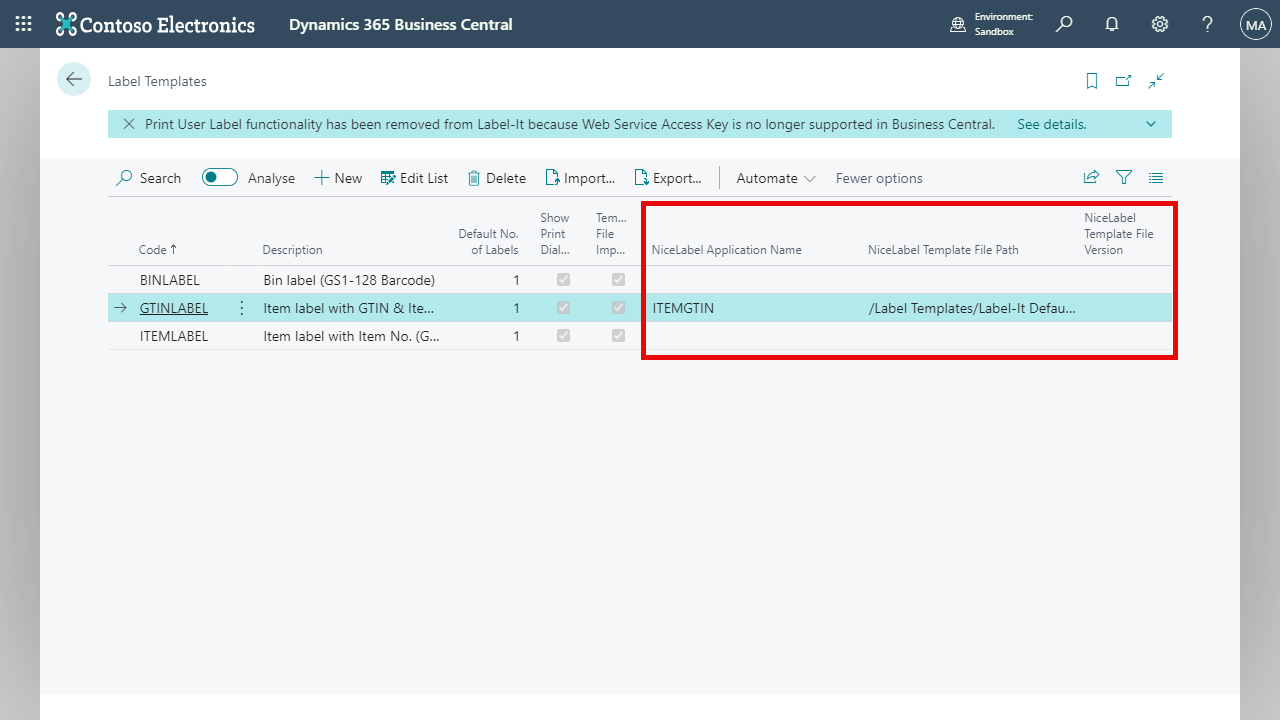
- Search and open “Label Templates” page.
- Create a new Label Template, or select an existing template to update.
- Paste the copied Application Name into the Loftware Application Name field.
- Save your changes.
Creating printer integration in Business Central
- Search and open “Printer Integrations” page.
- Create a new Printer Integration:
- Enter a Code and Description.
- On the Type drop-down field, choose Loftware and the Loftware section will appear on the screen.
- On the Loftware Type dropdown, choose Cloud Web Printer.
- Enter the Account Name.
- The account name can also be found in your Loftware Control Center URL:
https://<account_name>.onnicelabel.com
- The account name can also be found in your Loftware Control Center URL:
- Save your changes.