
Good Looking Document overrides all standard emailing actions, and this is reflected with the new Email and Post and Email actions across all document pages.
Sending an email
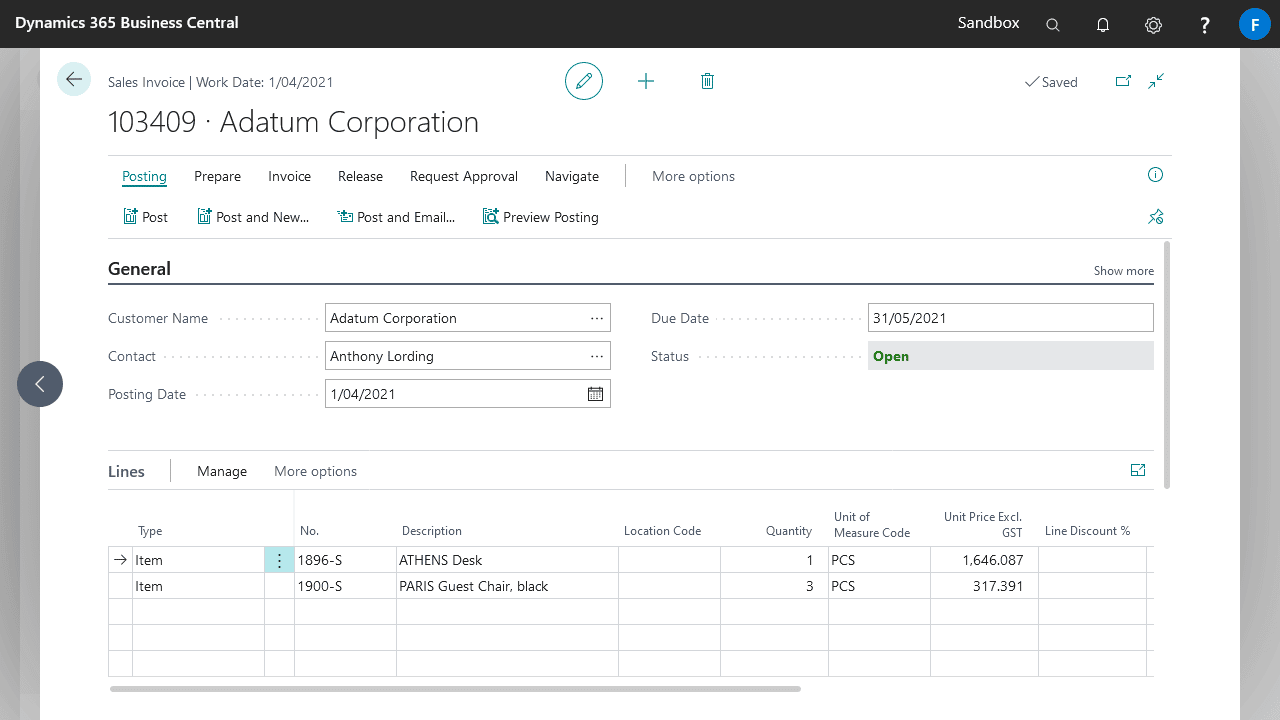
- Once you have setup how the email will be sent (see Setting up how each report is emailed), navigate to the document, Sales Invoice is used in this example.
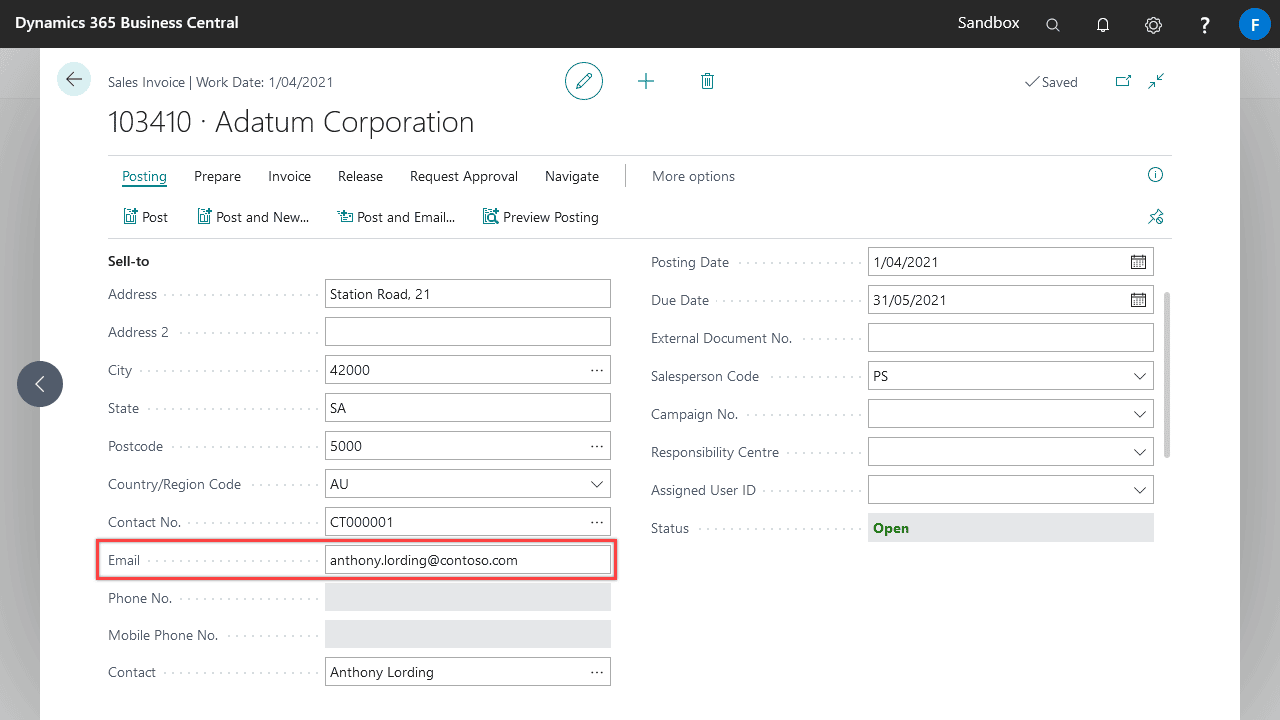
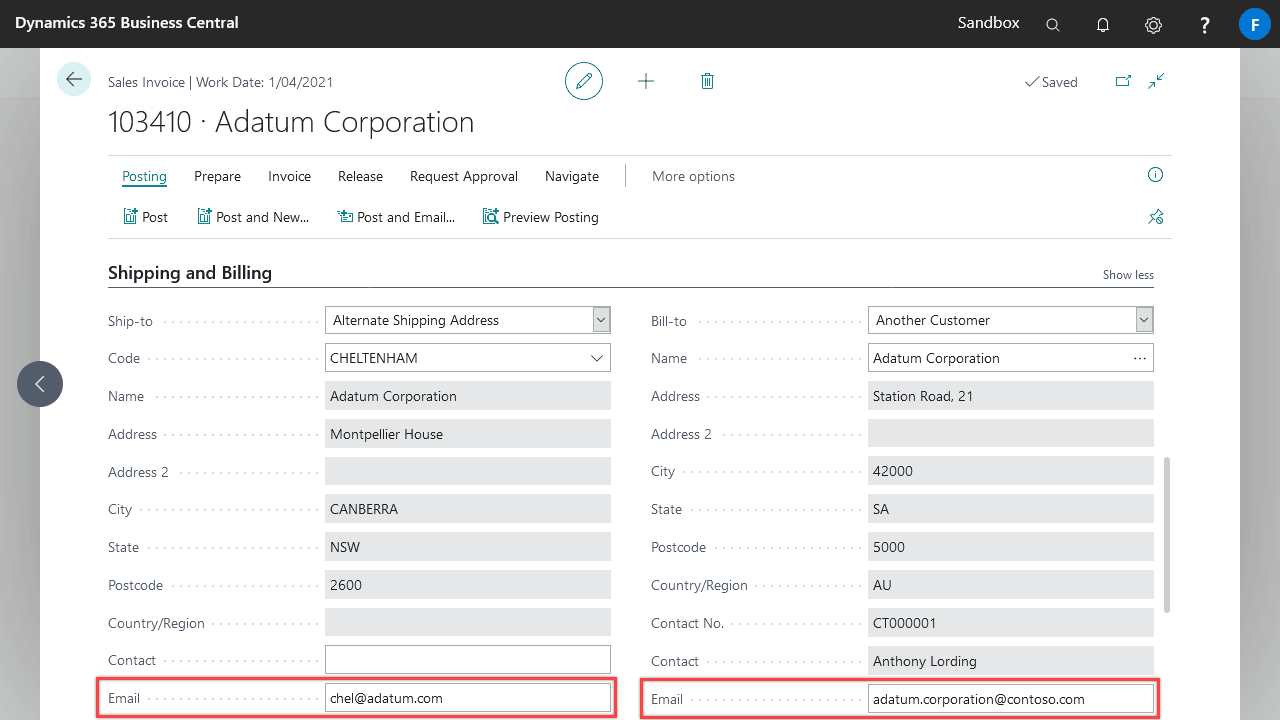
- (Optional) You can ad hoc change the recipient emails on documents by editing the Email field under the Sell-to/Buy-from, Bill-to/Pay-to, or Ship-to/Order Address sections.
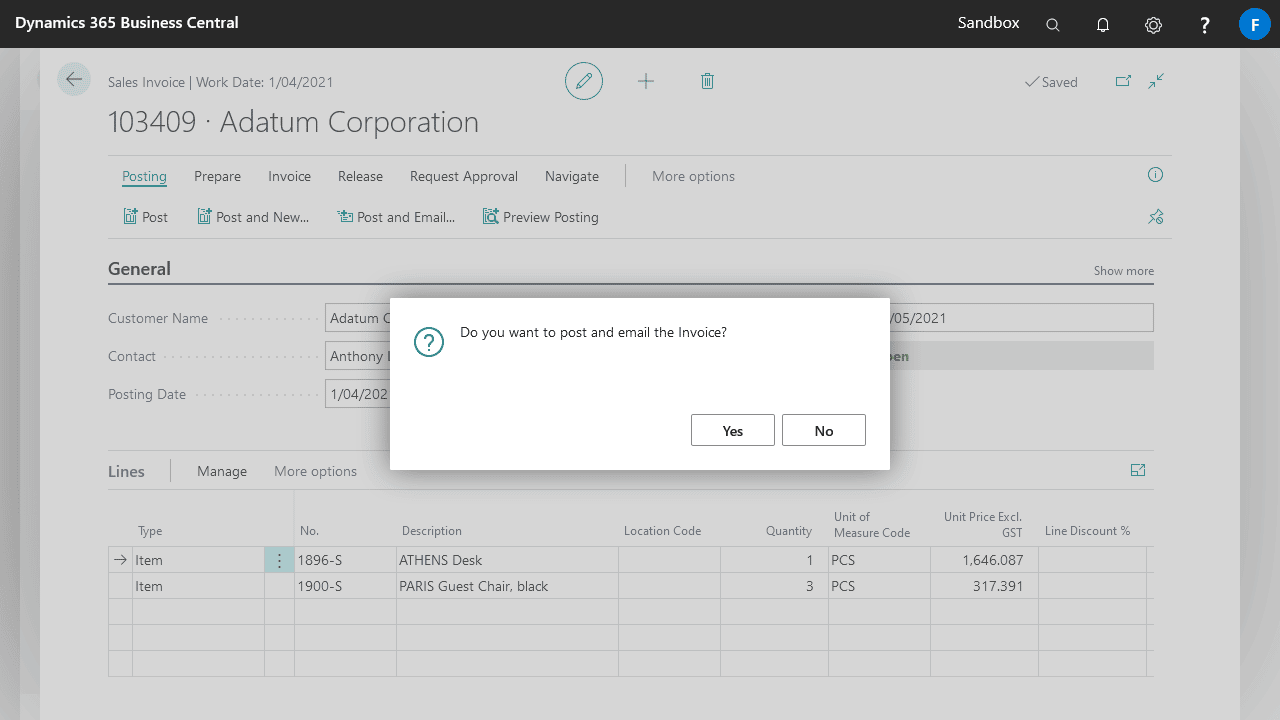
- Select Post and Email and post like normal. The email is then sent automatically because Show Email Dialog on Post and Email is turned off in the Document Emailing Profile.
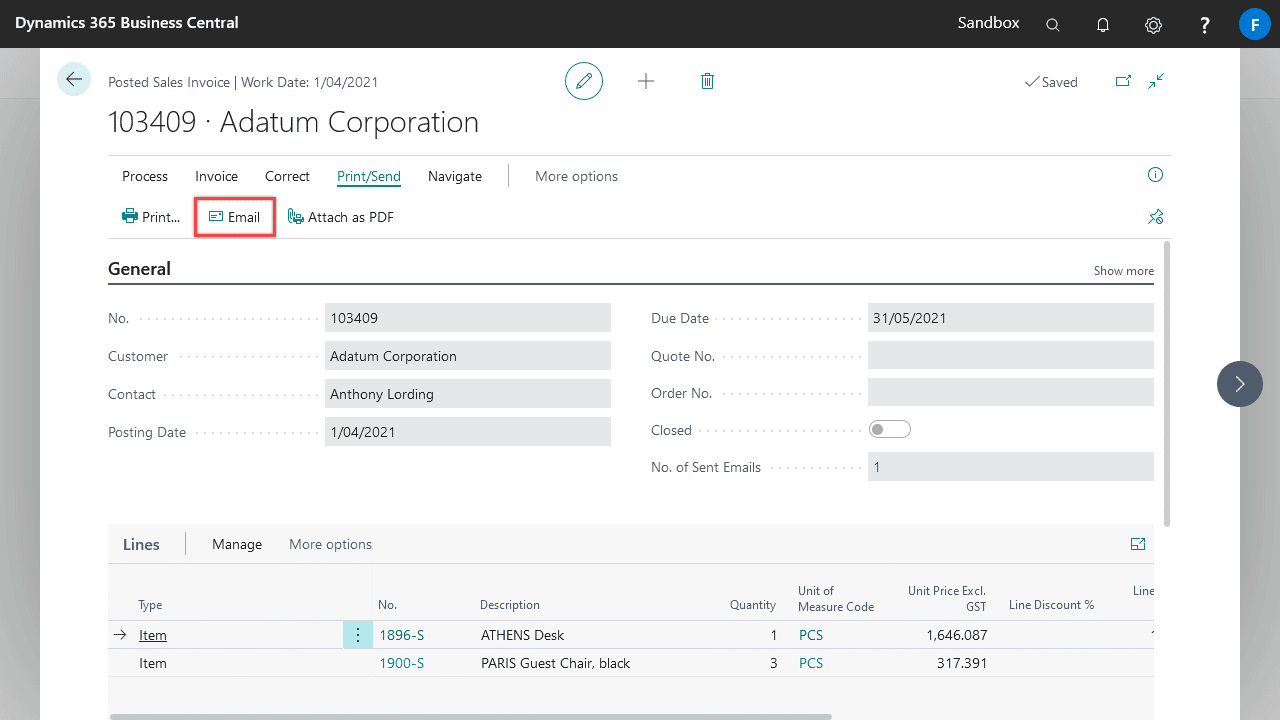
- If you want to send the email from the posted document locate and open the respective page, Posted Sales Invoice in this example, and select Email
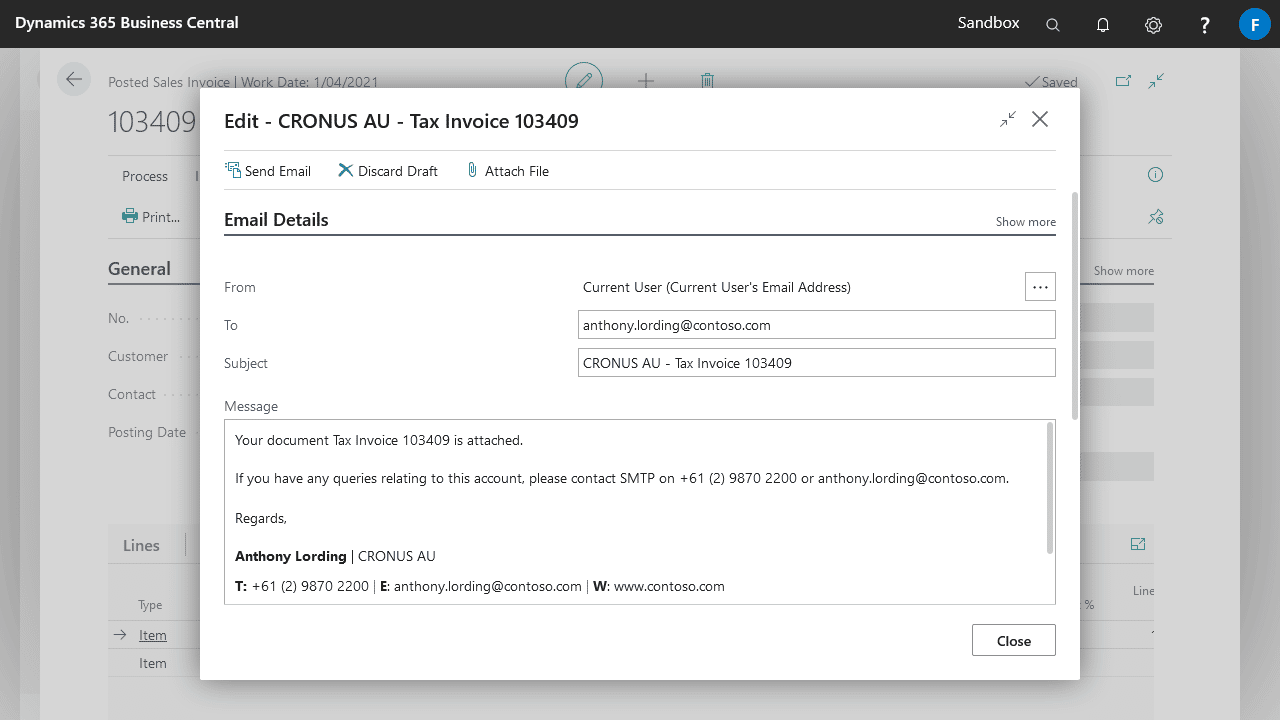
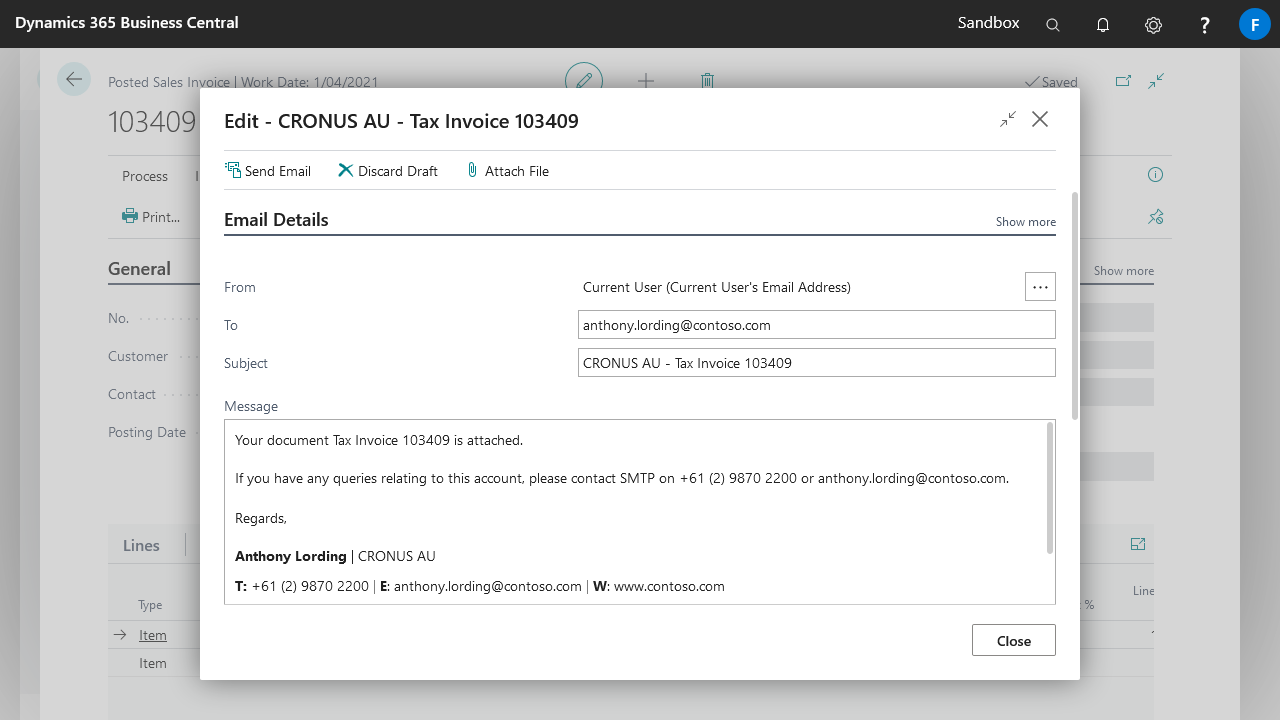
- Review the details in the email dialog and select Send Email
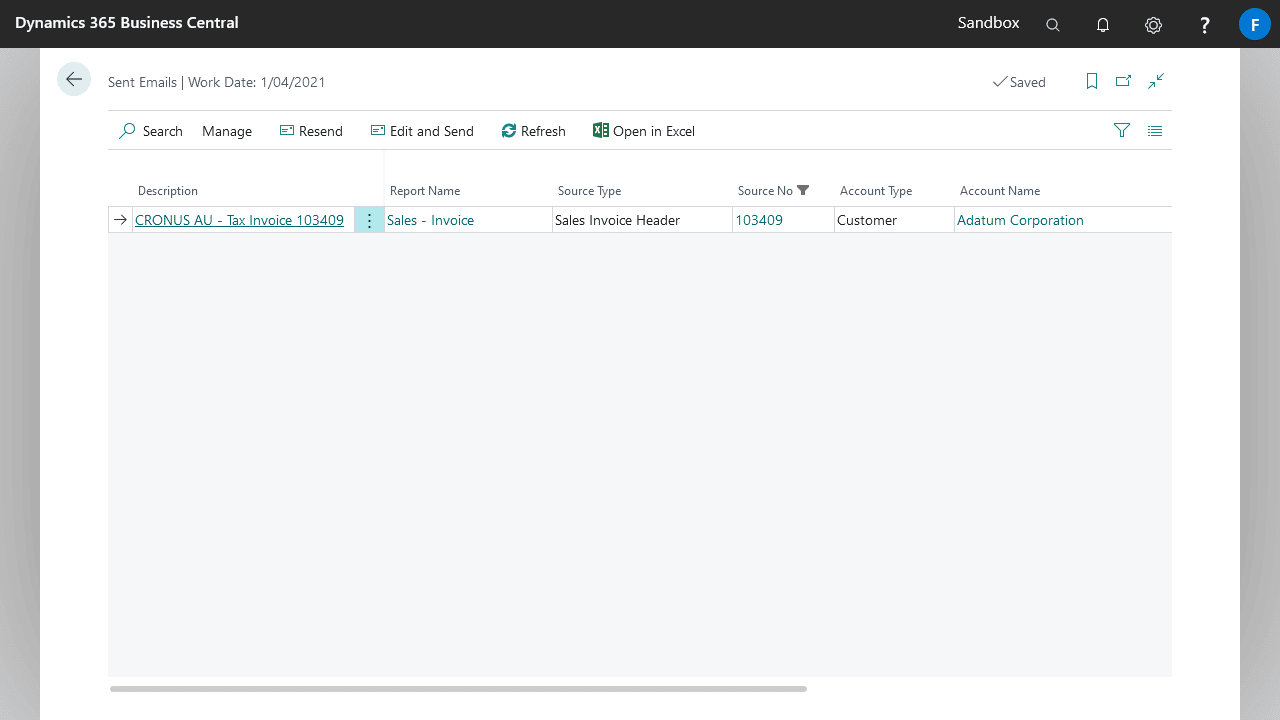
Viewing all Sent Emails
To check the sent email, locate and open the Sent Emails page. Good Looking Documents provides additional tracking for emails with the following fields.
| Field | Explanation |
|---|---|
| Report ID | Specifies the ID of the report that was attached to the email. |
| Report Name | Specifies the name of the report. |
| Source Type | Specifies the source document type. |
| Source No | Specifies the source document number. |
| Source Subtype | Specifies the source document subtype, such as quote, invoice, order, etc. |
| Account Type | Specifies the type of account that the document was sent to. |
| Account No | Specifies the number of the account. |
| Account Name | Specifies the name of the account. |
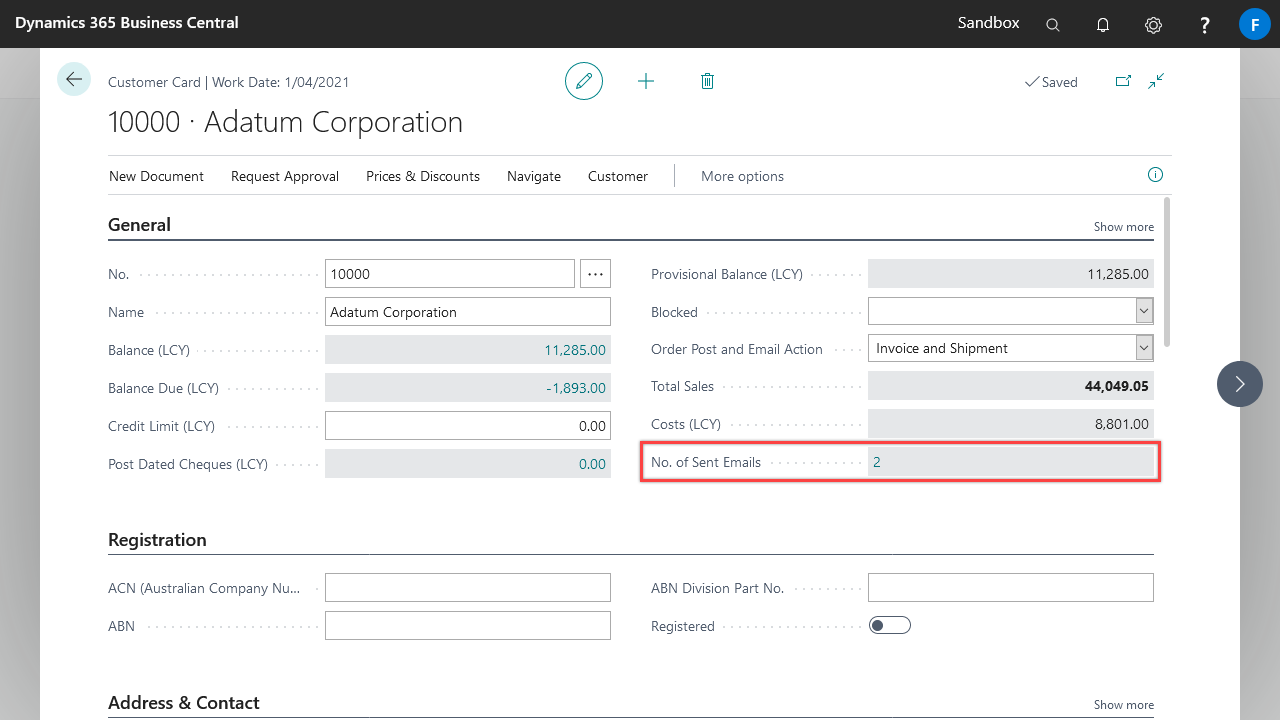
Viewing Sent Emails for a Customer, Vendor, or Document
A new field No. of Sent Emails on the card page tracks how many emails have been sent to the customer, vendor, or document.

