The IT Admin Toolkit has several Change Log improvements to make it easier to set up and search the change log.
Quickly viewing the change log
Traditionally, searching the Change Log table can be tricky and resource heavy. We’ve added easy shortcuts to view related Change Log entries directly from the Customer, Vendor, and Item Card:
- From a Customer, Vendor, or Item Card, click Navigate
- Select Change Log
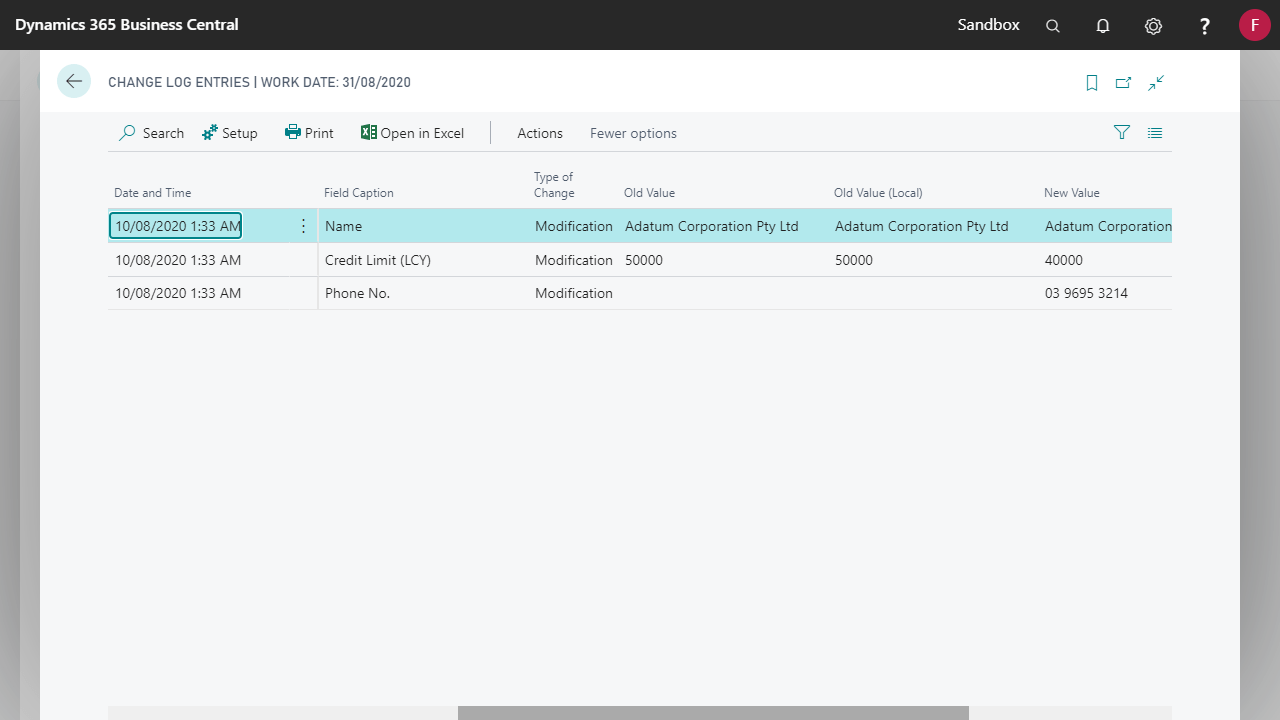
From this view you will be able to trace:
- Which user made the change.
- The date and time the change was made.
- The old value and the new value.
The Customer, Vendor and Items table must be enabled in Change Log Setup. This can be easily done by running Initialise function in the Change Log Setup page.
Simple Change Log Setup
The Change Log is an essential audit tool; however, it is rarely setup during the implementation.
The IT Admin Toolkit automatically initialises the Change Log Setup with the common tables and fields that should be logged. These are typically setup tables and master data tables like the Customer, Vendor, and Item tables.
How to Setup the Fenwick Gold Change Log defaults
- Search for and open the Change Log Setup page.
- Navigate to the Setup > Tables page.
- Run the Initialise Defaults function.
Where can I access the Change Log from?
You can access the change log from a variety of places throughout Business Central. You can open the page directly via the search bar or through the navigate tab on a select few of pages.
Accessing the page directly will open the page with no filters, showing all entries.