Cloud Companion Desktop Edition provides on-premises functionality improvements for people running Dynamics 365 Business Central.
It allows you to take advantage of local printing, Outlook emailing and file editing capabilities, directly from Business Central. This works for both hosted and on-premises editions.
Connecting Cloud Companion (Desktop Edition) to Business Central
To use local features, you’ll need to first have the Cloud Companion app installed.
The app can be downloaded and installed via the Microsoft Store. You will also need to register a Cloud Companion account by contacting Fenwick.

After installation, the connection to Business Central can be set up:
- Ensure the Cloud Companion app is running in the background (tray icon).
- Run Set up Cloud Companion from the Assisted Setup page.
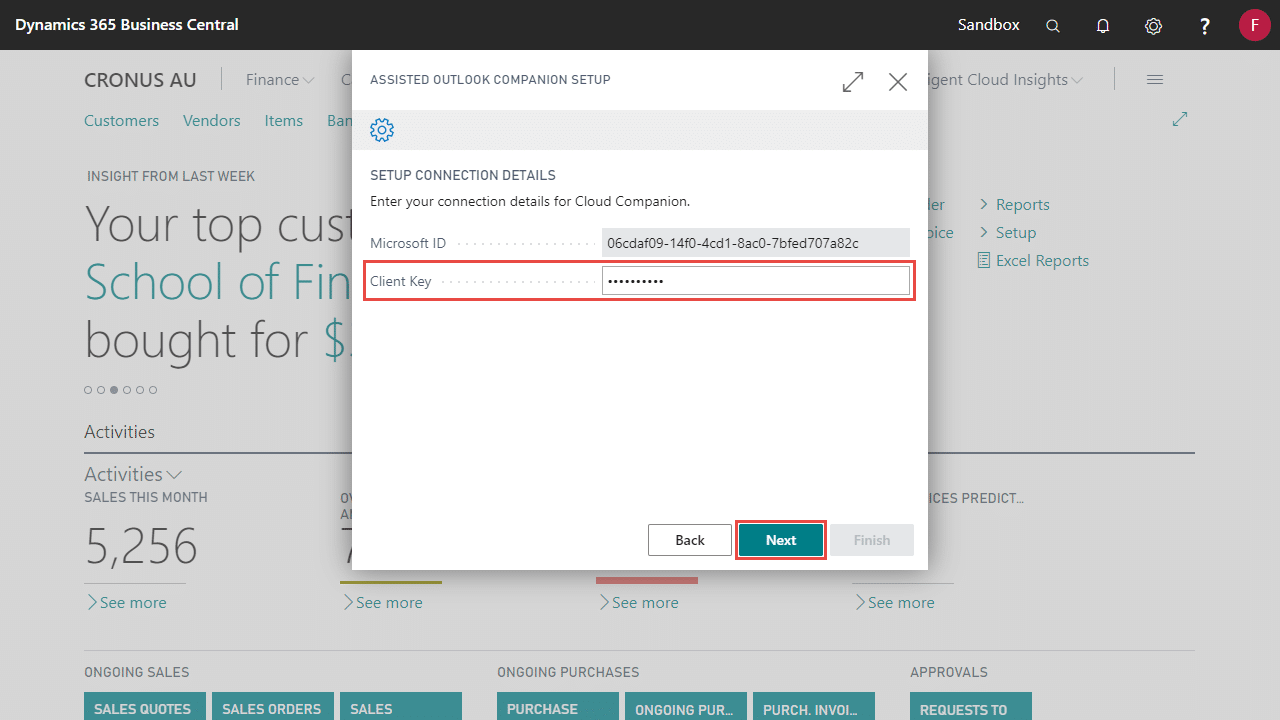
- Select Next to proceed with the first step of the setup.
- Enter in the Client Key provided by Fenwick Software and select Next.
- Download the configuration file by selecting Download Config File.
- Open the downloaded config file. A Windows notification should pop-up on the bottom right of the screen. The notification should say “Fenwick Cloud Companion has started”.
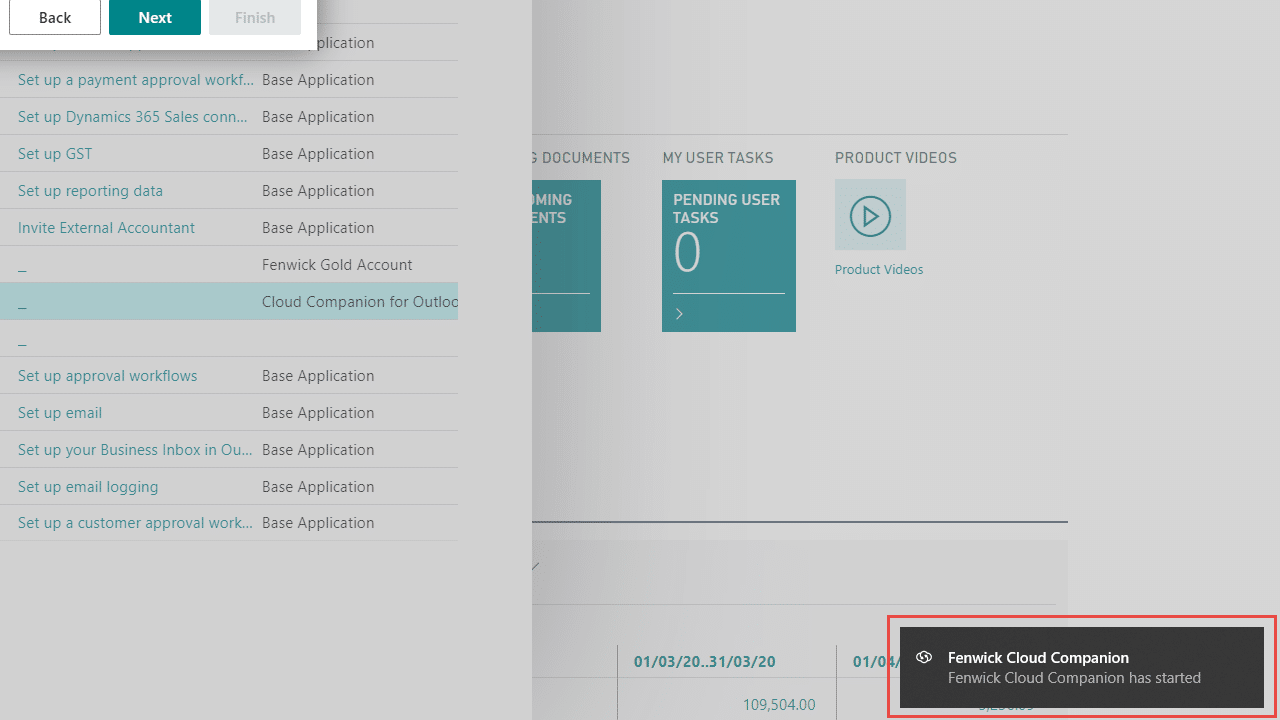
- Select Next.
- Complete the setup by selecting Next and then Finish.